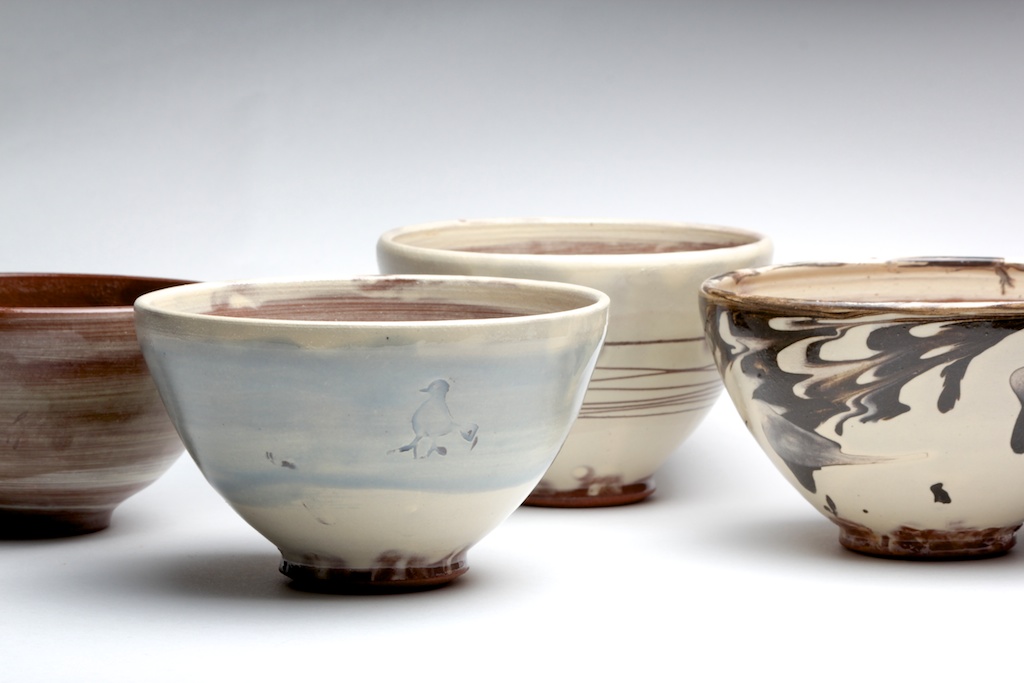
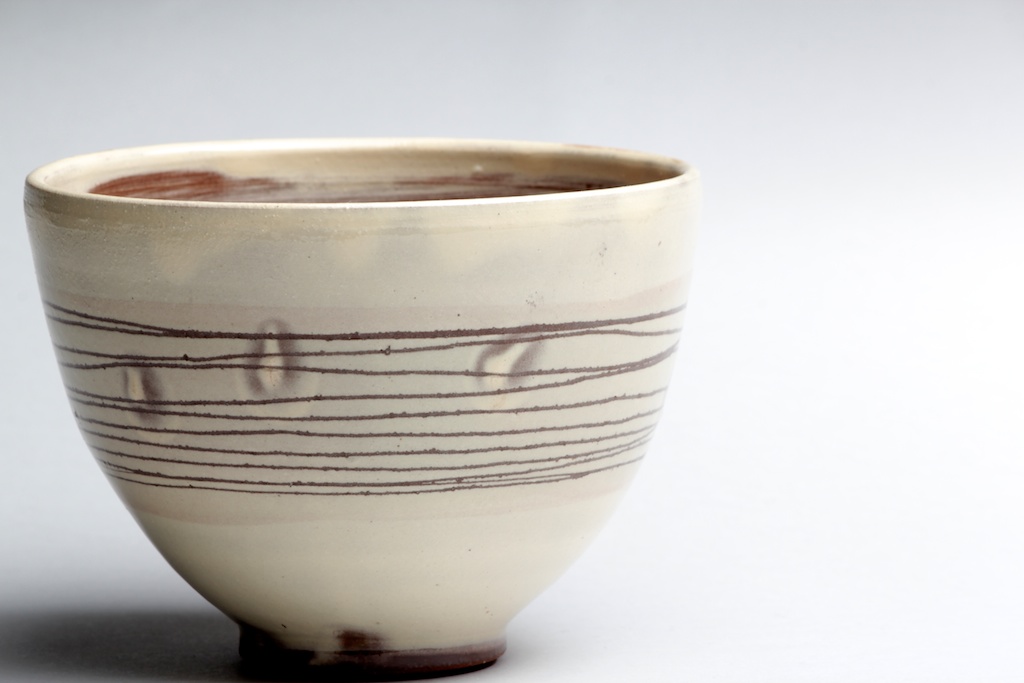
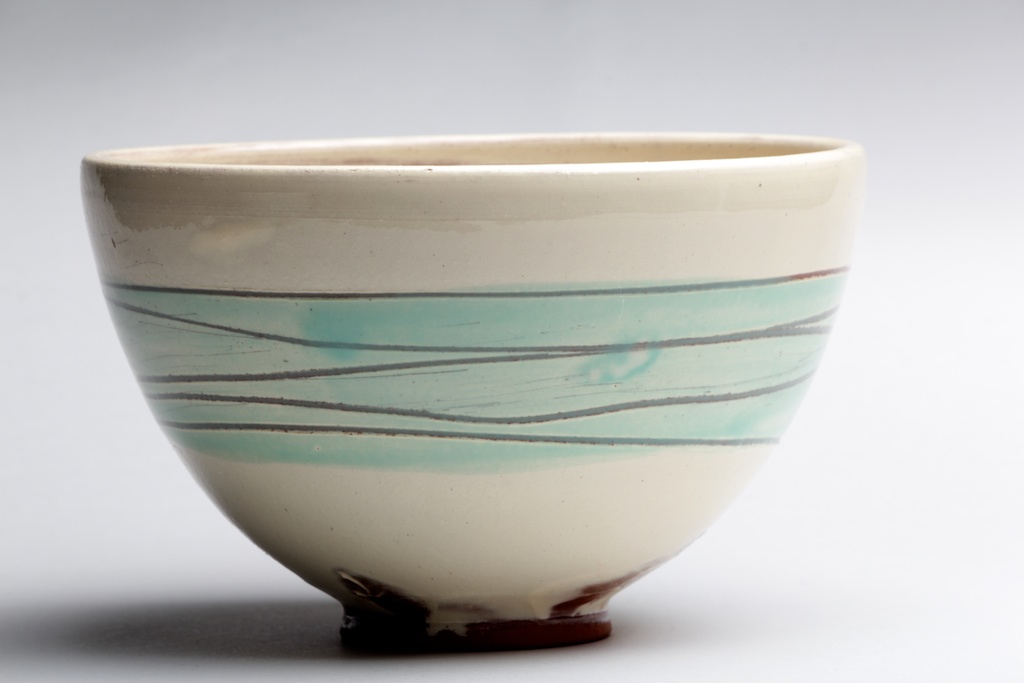
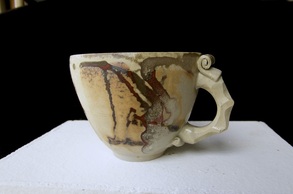
the slipware trial begins...
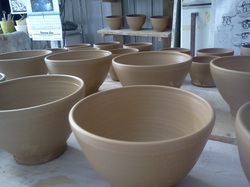
the trial into slipware begins...todays first batch of bowls and small cups are destined to be dipped, brushed, scraped,
drawn and marbled on...
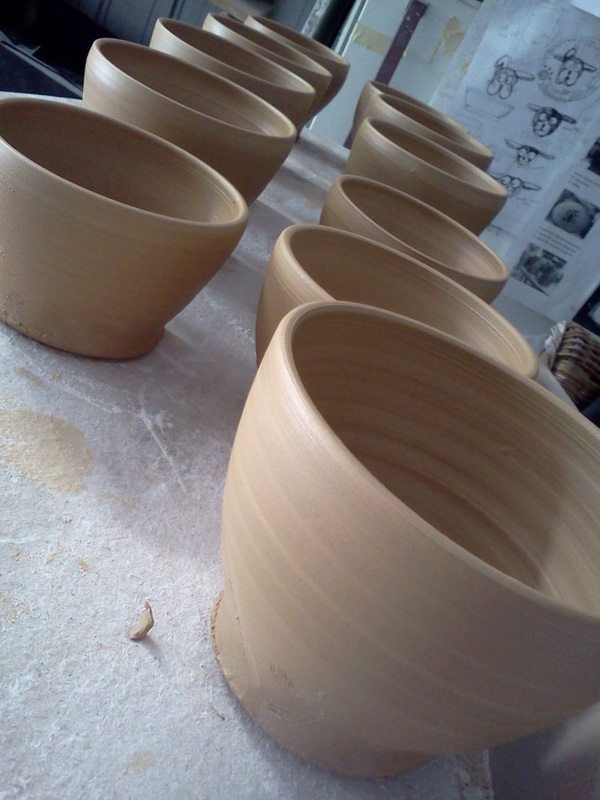
I have been storing techniques and ideas for a few years now and since I'm not in a traditional slipware country there is no reason to be tied by those traditions as much as I appreciate and admire them my journey is going to be experimental and more contemporary in style. So todays first session back into the studio for ages has me breaking out a twelve kilo bag of local terracotta clay, so local it's dug just over the road and filtered to a fairly fine and slippery consistency. It was an absolute joy to throw with today and so far no itchy hands!
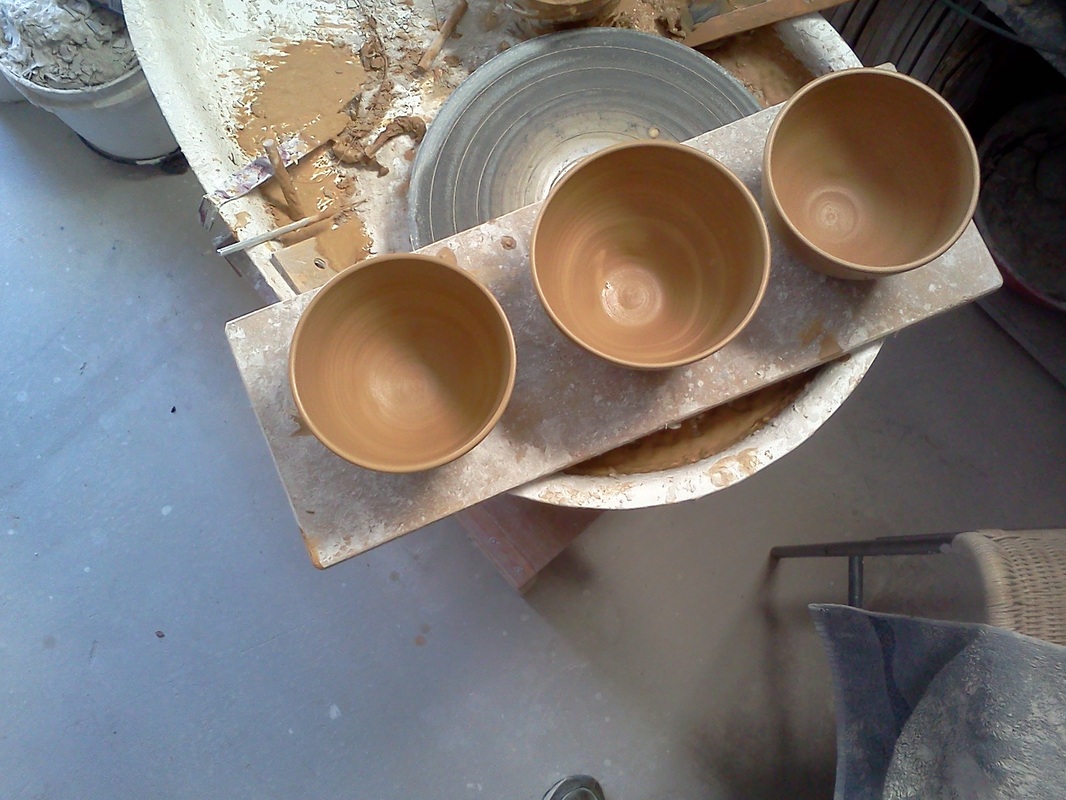
Tomorrow hopefully the trimming and putting on of handles.. the cups are fairly small and will be great for herbal teas and short black coffees.. I plan to fire these by gas, hoping also that the kiln's atmosphere will add to the results..
drawn and marbled on...
I have been storing techniques and ideas for a few years now and since I'm not in a traditional slipware country there is no reason to be tied by those traditions as much as I appreciate and admire them my journey is going to be experimental and more contemporary in style. So todays first session back into the studio for ages has me breaking out a twelve kilo bag of local terracotta clay, so local it's dug just over the road and filtered to a fairly fine and slippery consistency. It was an absolute joy to throw with today and so far no itchy hands!
Tomorrow hopefully the trimming and putting on of handles.. the cups are fairly small and will be great for herbal teas and short black coffees.. I plan to fire these by gas, hoping also that the kiln's atmosphere will add to the results..
         |
|
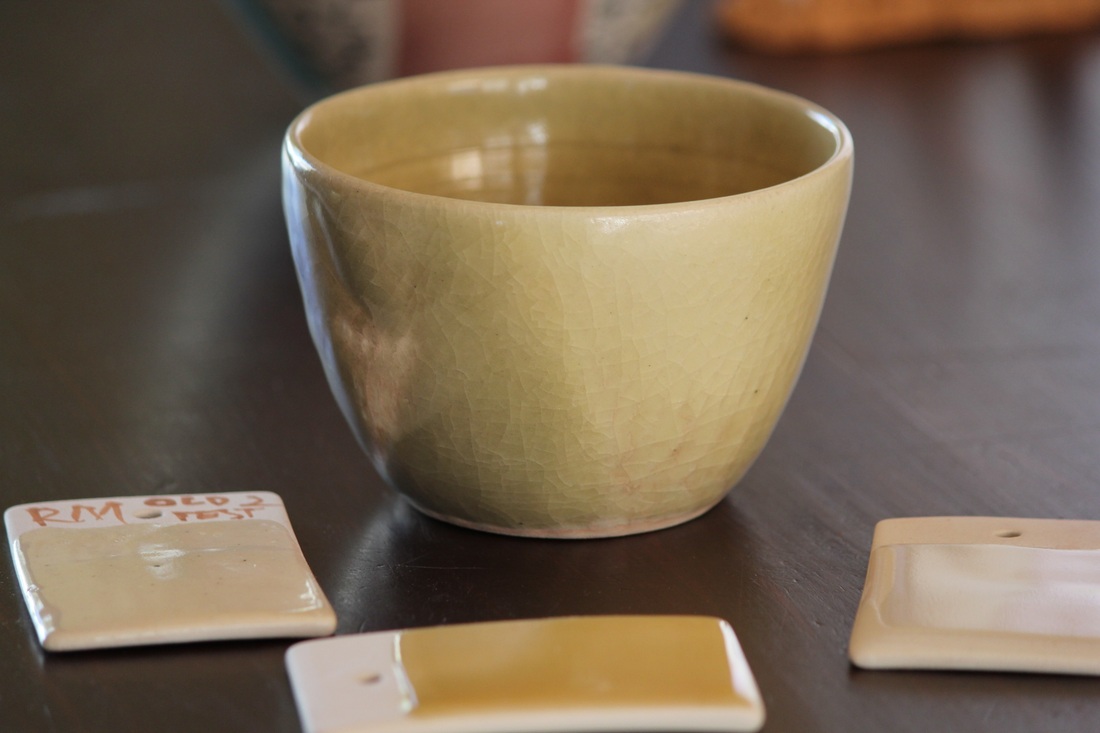
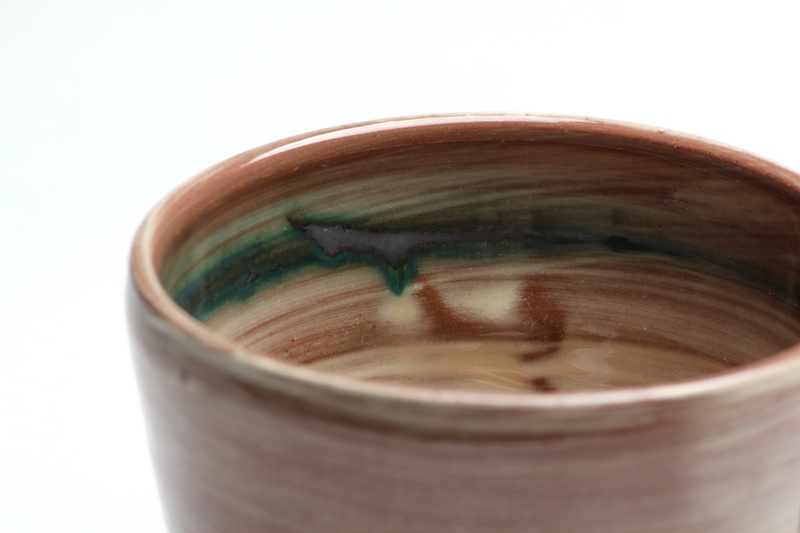
EW glaze teststhese glaze tests were produced in my test kiln, fired with gas in 2hours and some good results..The colour responses were good and some with minimal crazing and others with none. Only testing on my Terracotta body with this current slip remains to be tested..
I also retested a glaze I had made previously that had mixed results and re-firing that bucket test assured me it was not the glaze but perhaps the slip that caused problems previously.. |
earthenware glaze speed tests
|
|
|
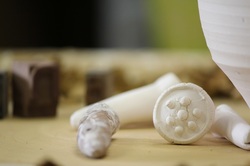
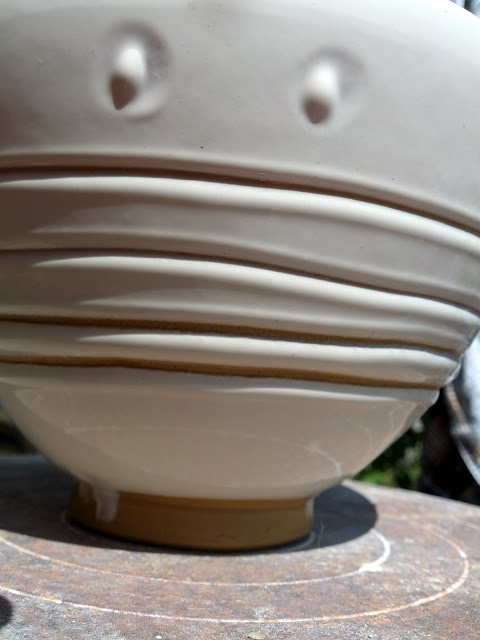
brushed, stamped and slipped

|
|
|
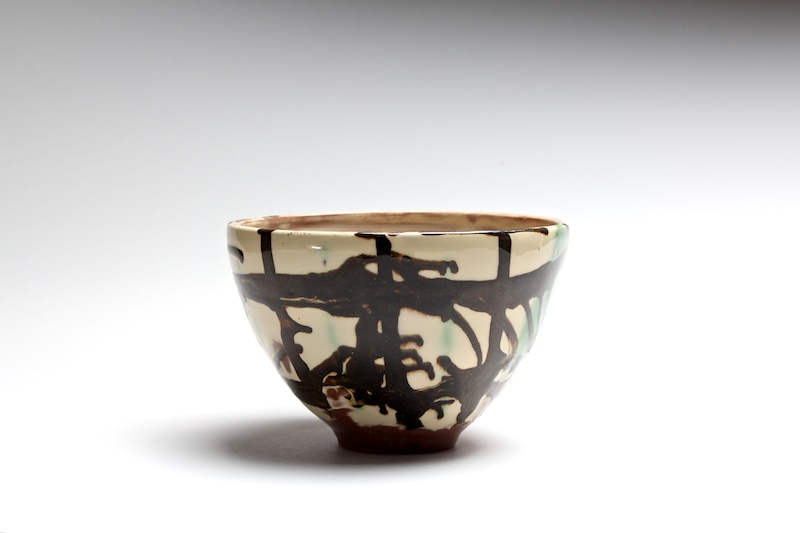
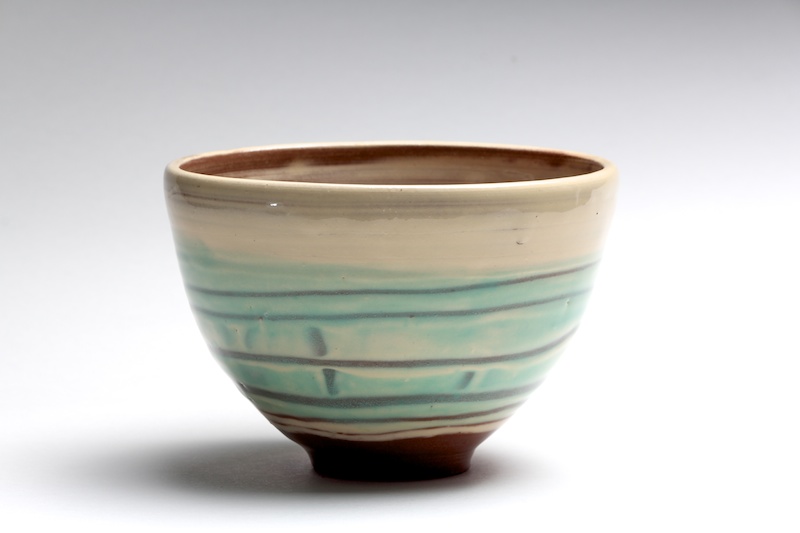
earthenware results stage 1
This new batch of images is all about the glaze and design results.. what works with what and how materials responded to working together.
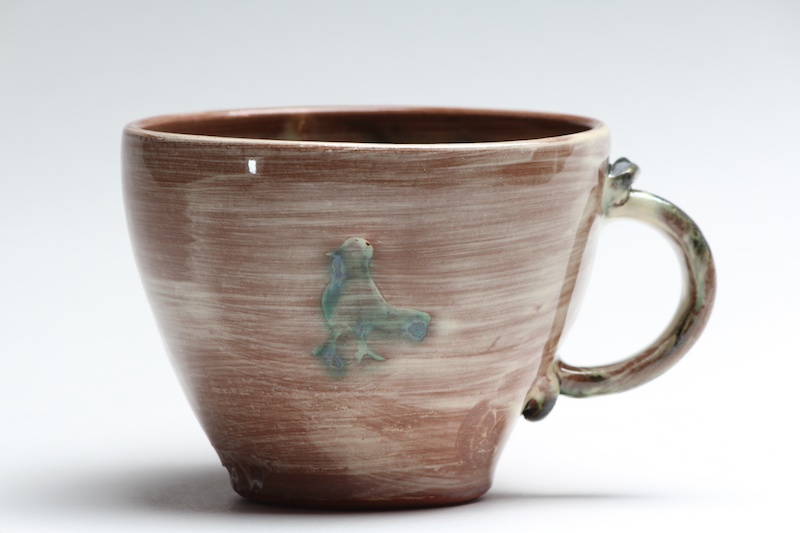
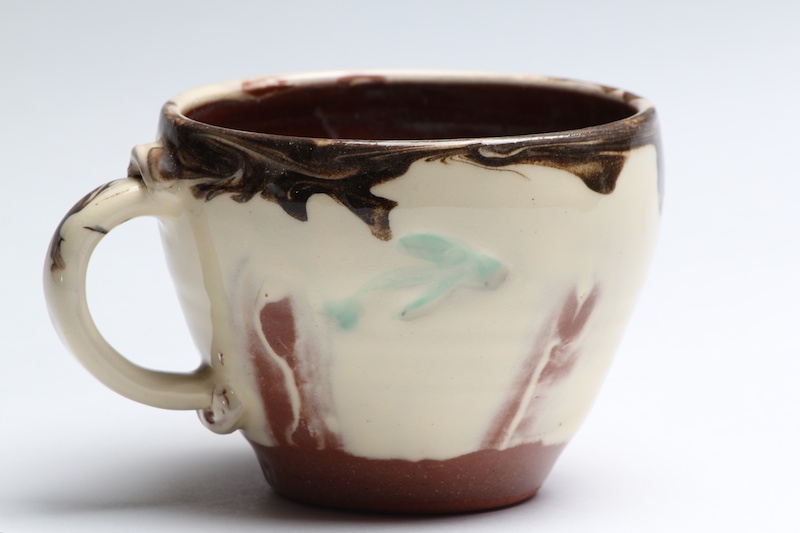
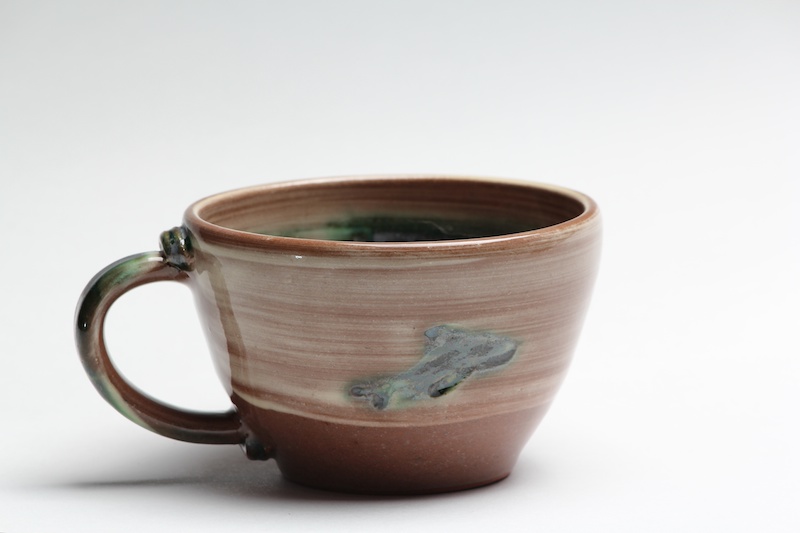
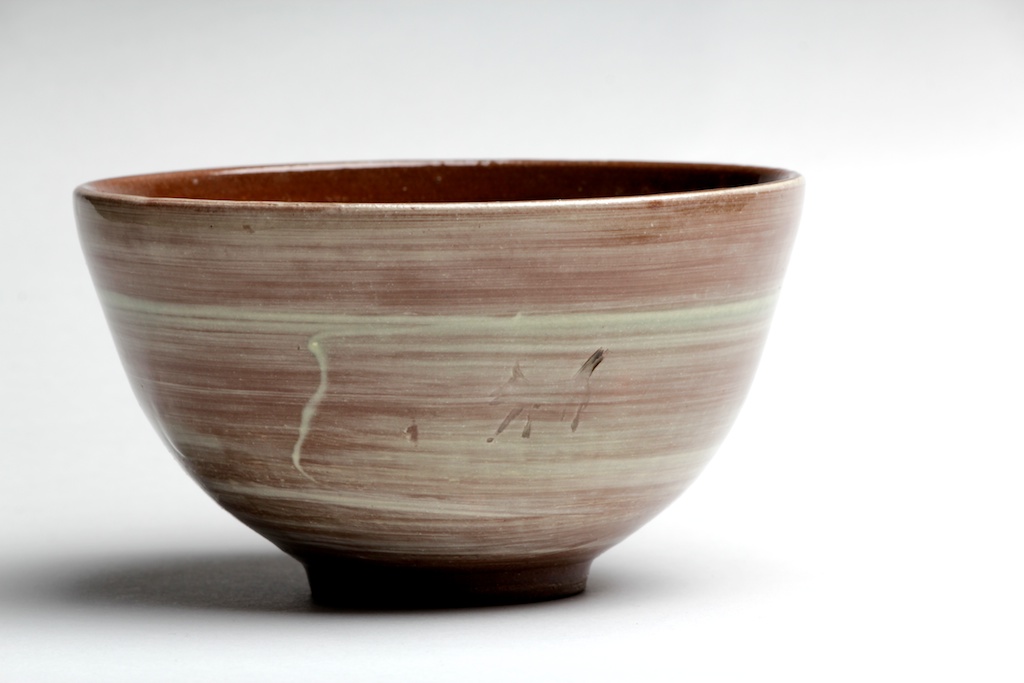
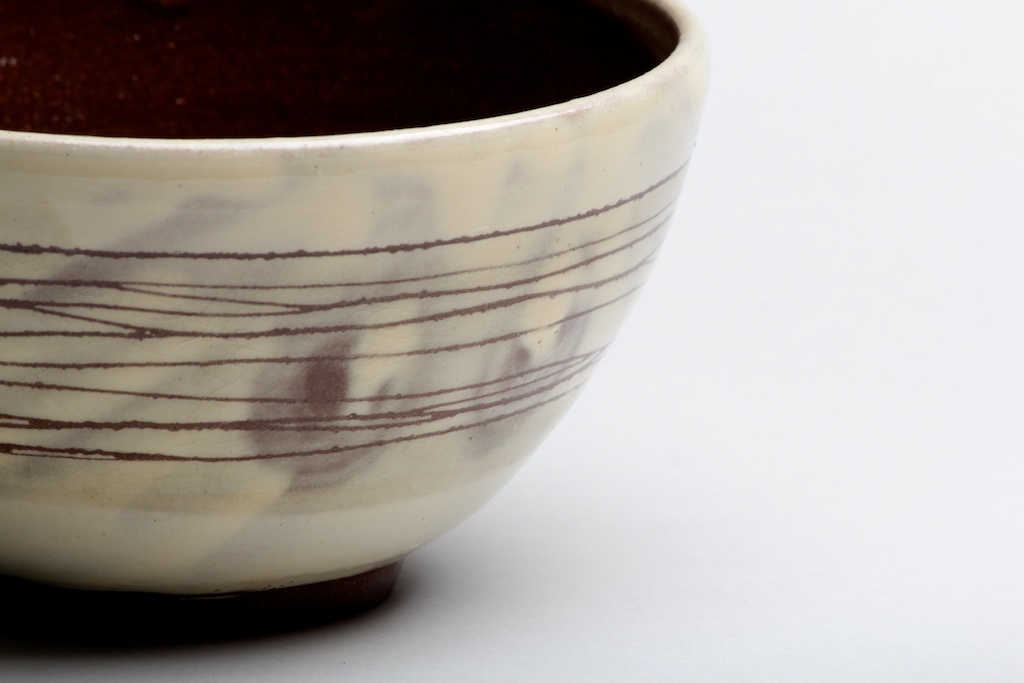
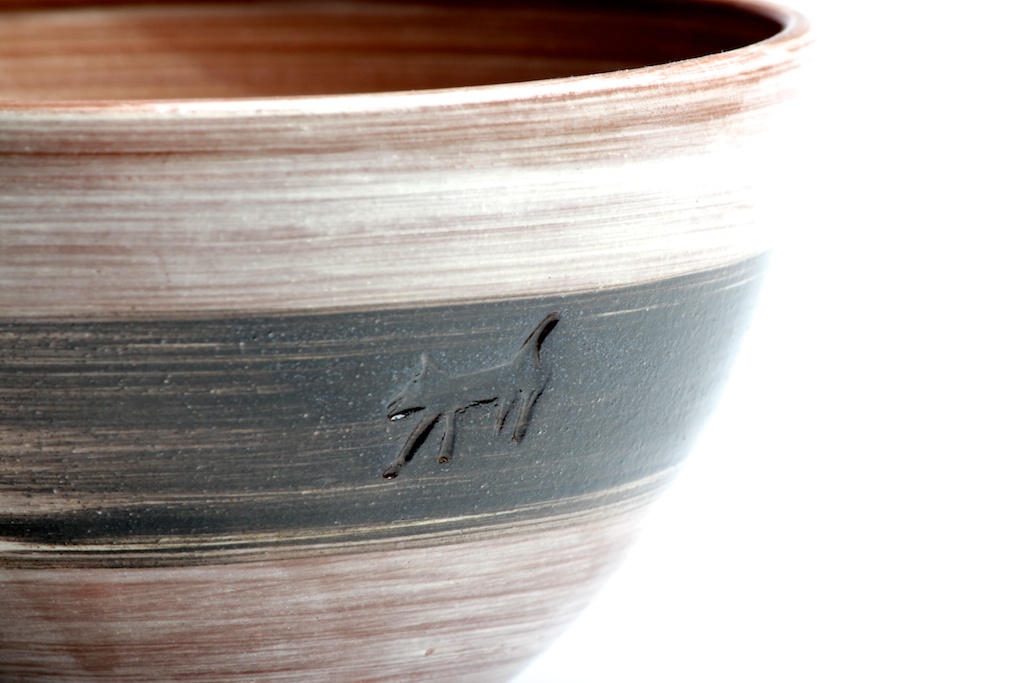
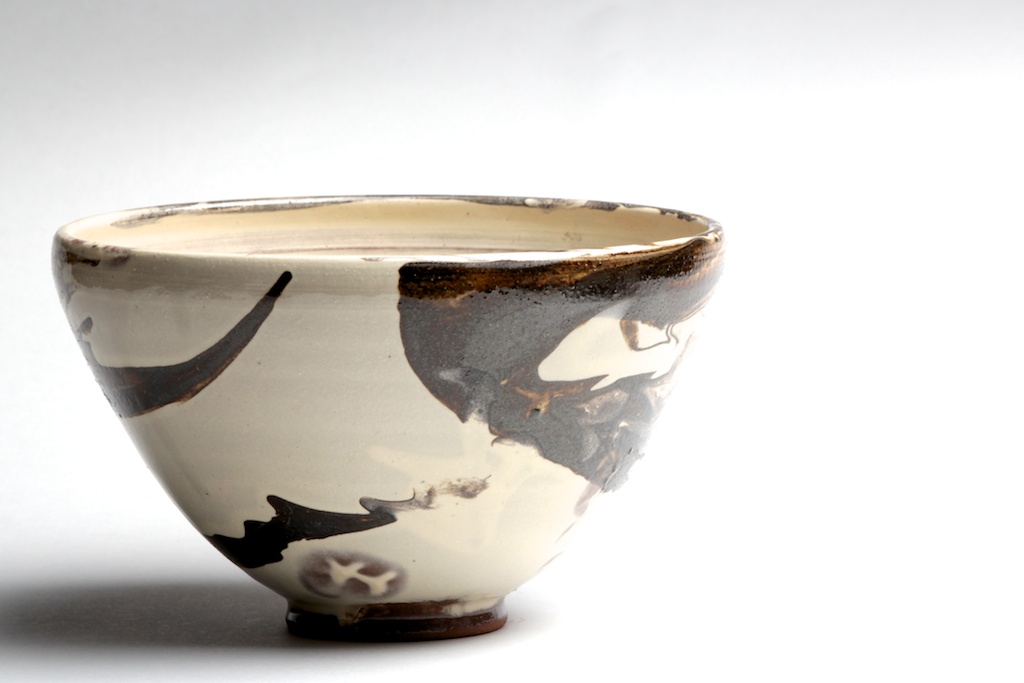
The first kiln load was fired in oxidation in a manual kiln to 1100C over 10 hours as sunday was the turn back your clocks day on daylight saving so the kiln got an extra hour before turning up to high. The results are great the glazes matured well and the oxides started to move nicely.
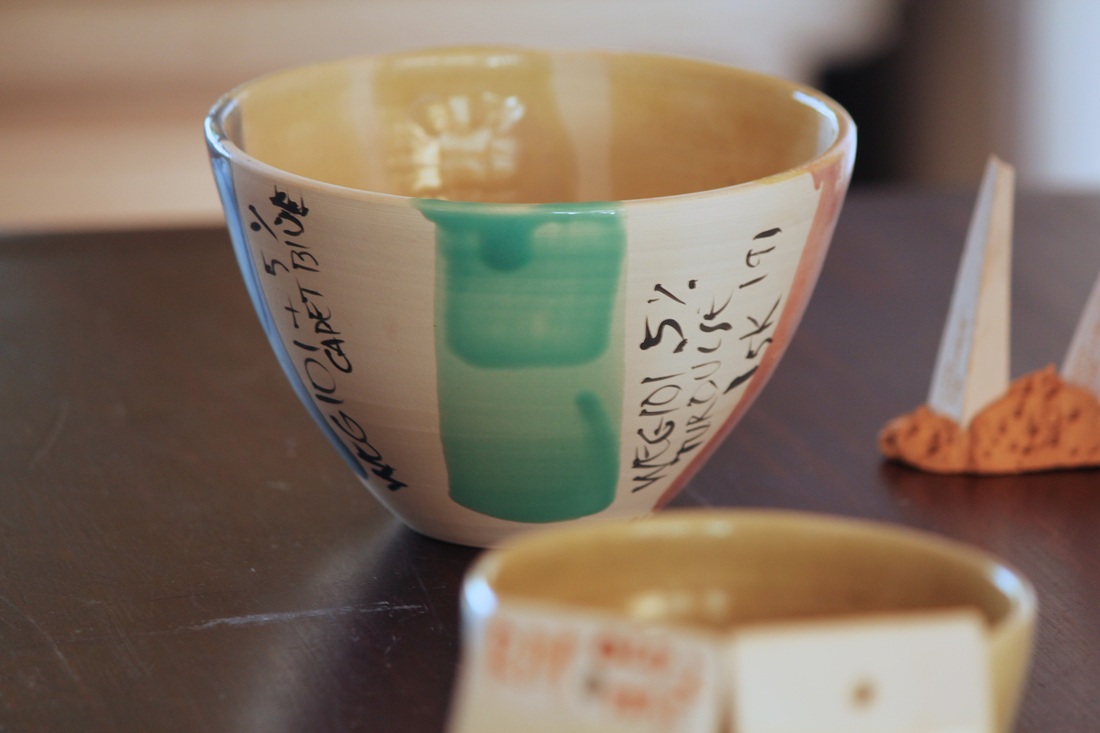
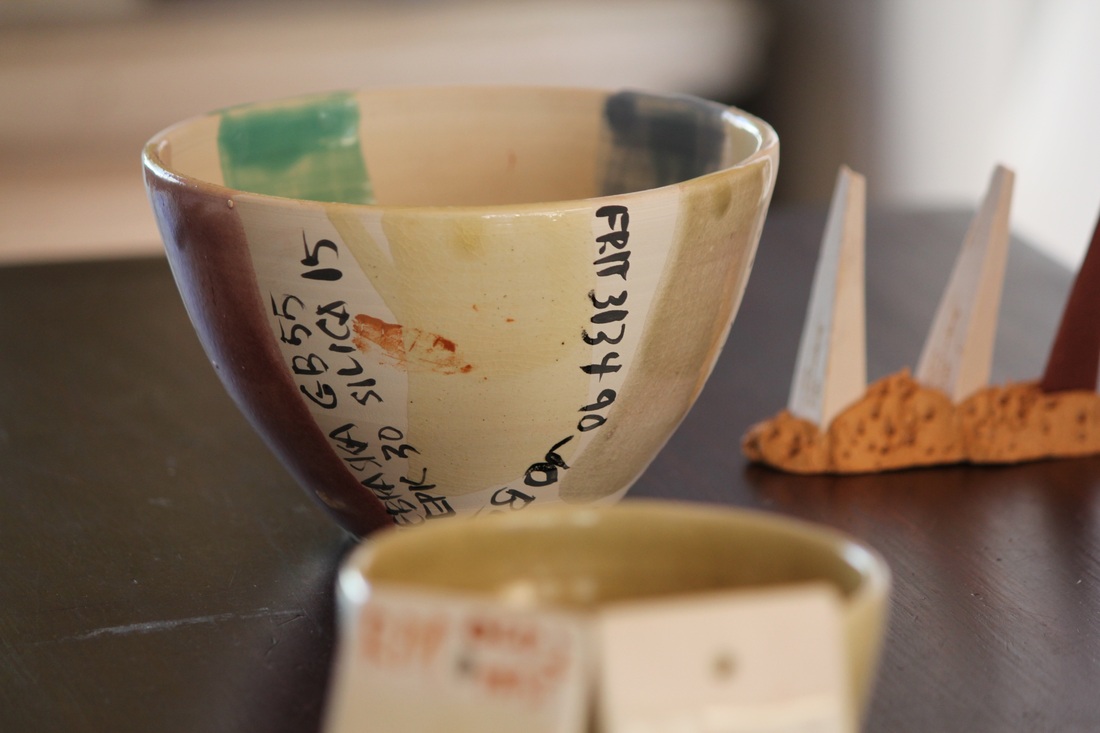
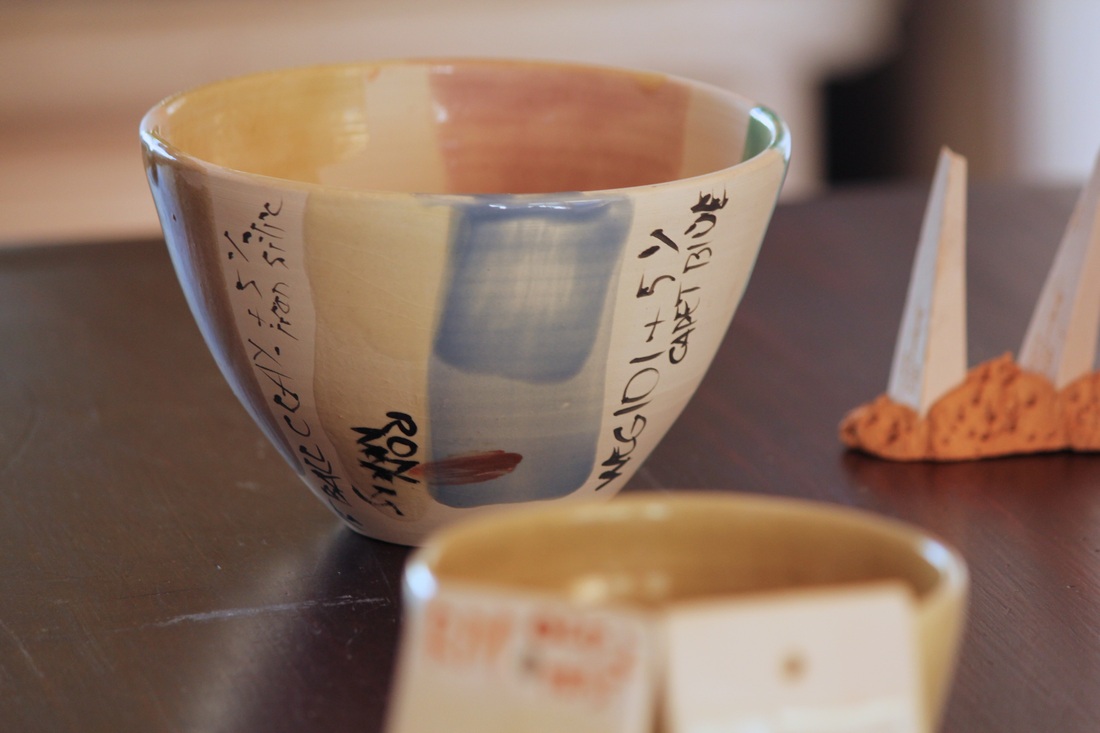
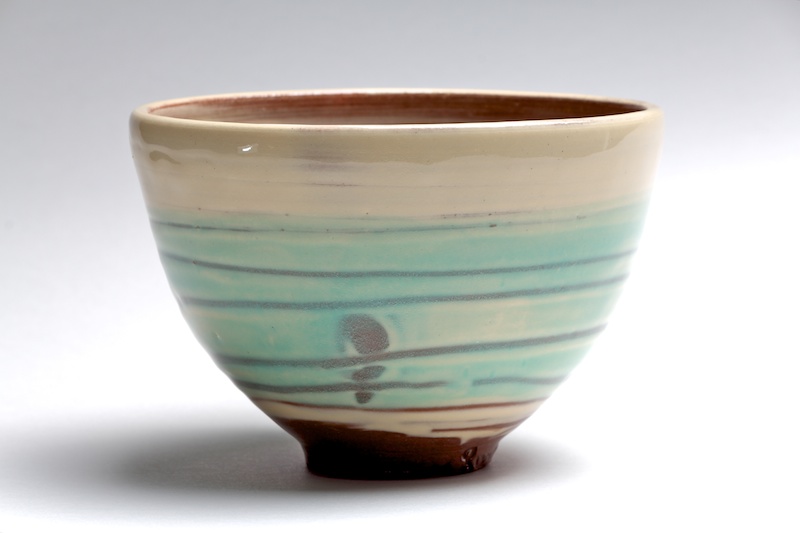
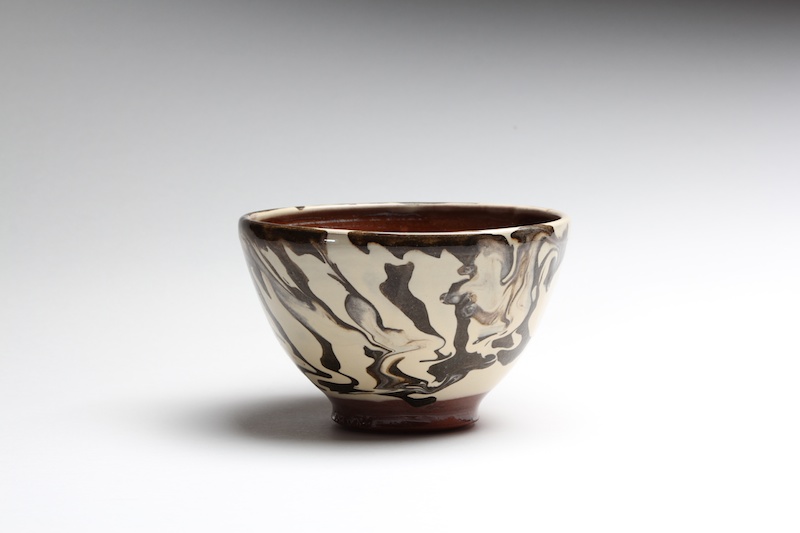
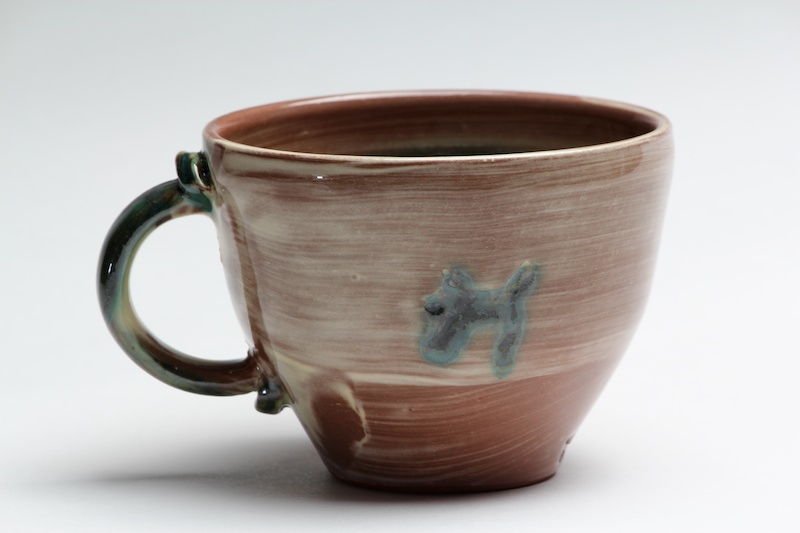
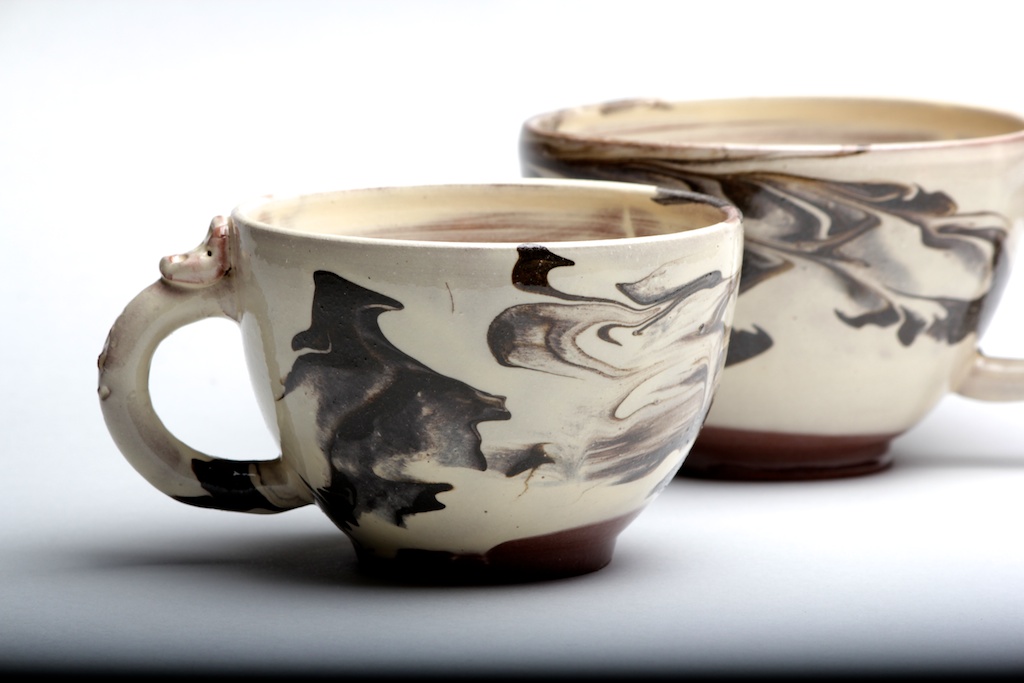
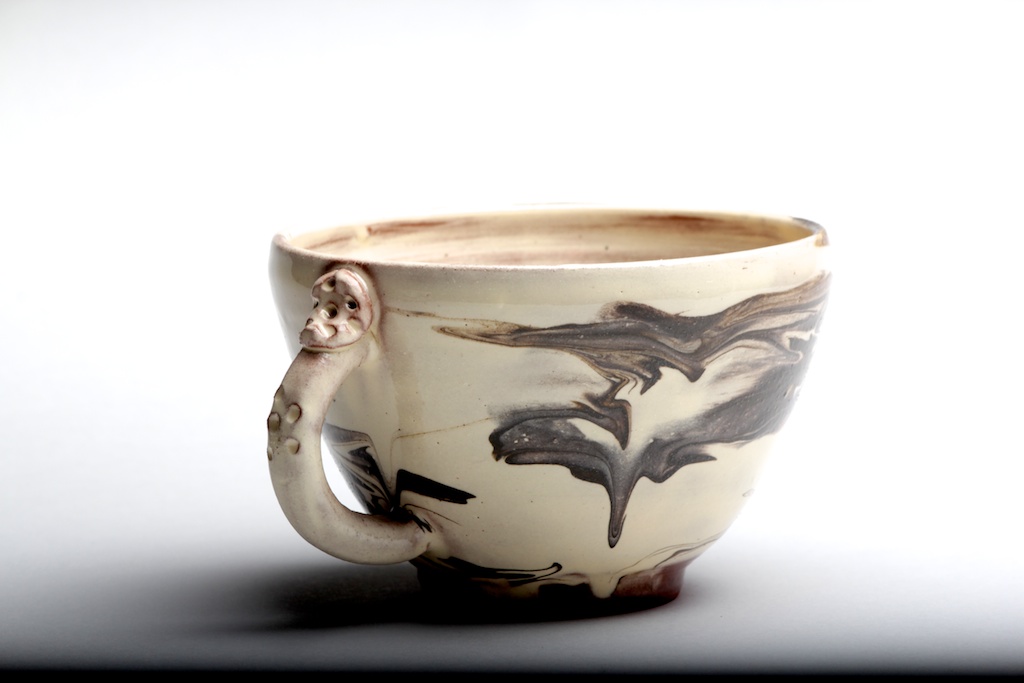
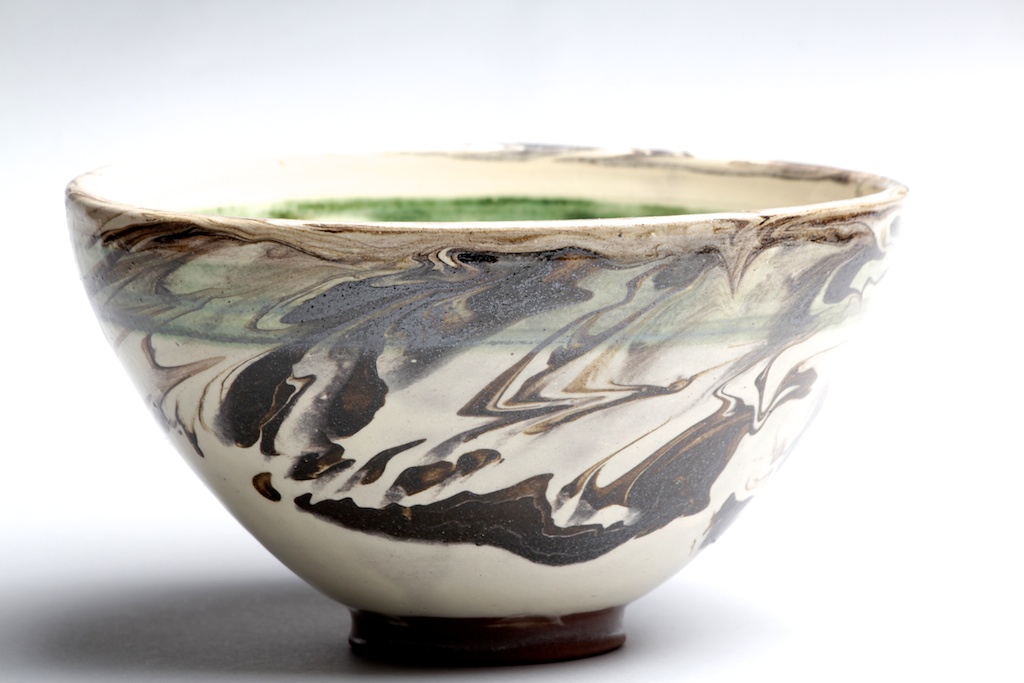
I'm using Bennetts terracotta filtered clay that is dug over the road from me and not a lot of processing just filtered and pugged. The slip is ball clay, the copper slip has a rounded desert spoon of copper carb in 1 litre of slip and the black slip is red iron oxide, manganese dioxide and terracotta clay equal parts in one litre of slip.
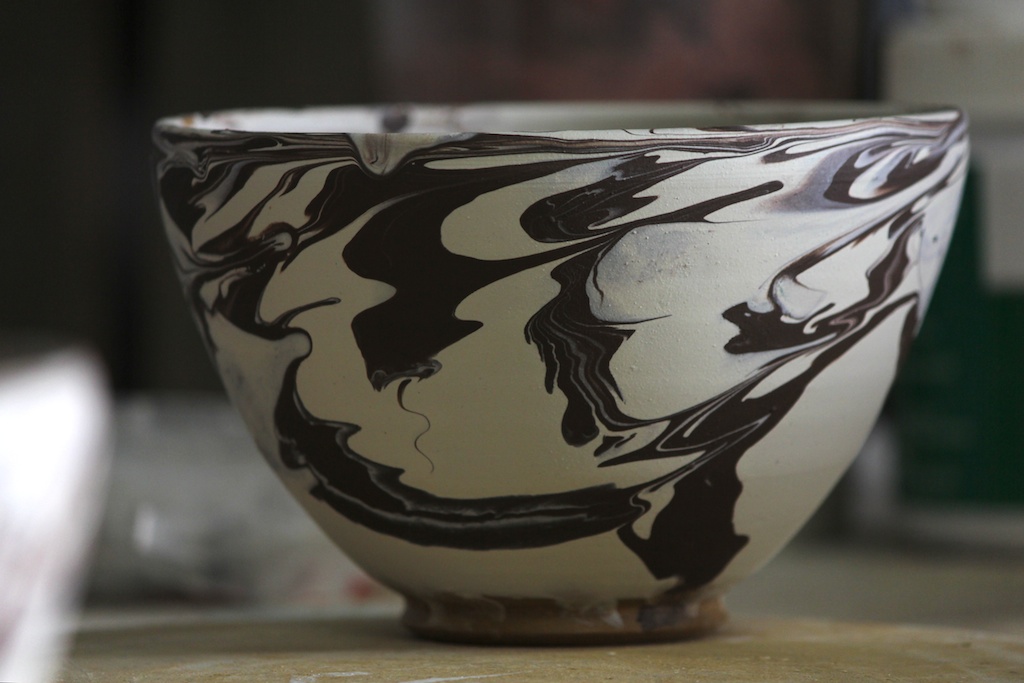
Some of these pieces were marbled in the white with black slip trailed over and quickly flicked to merge together. Colouring on top of the clear glaze is turquoise satin and red iron oxide in the honey glaze.
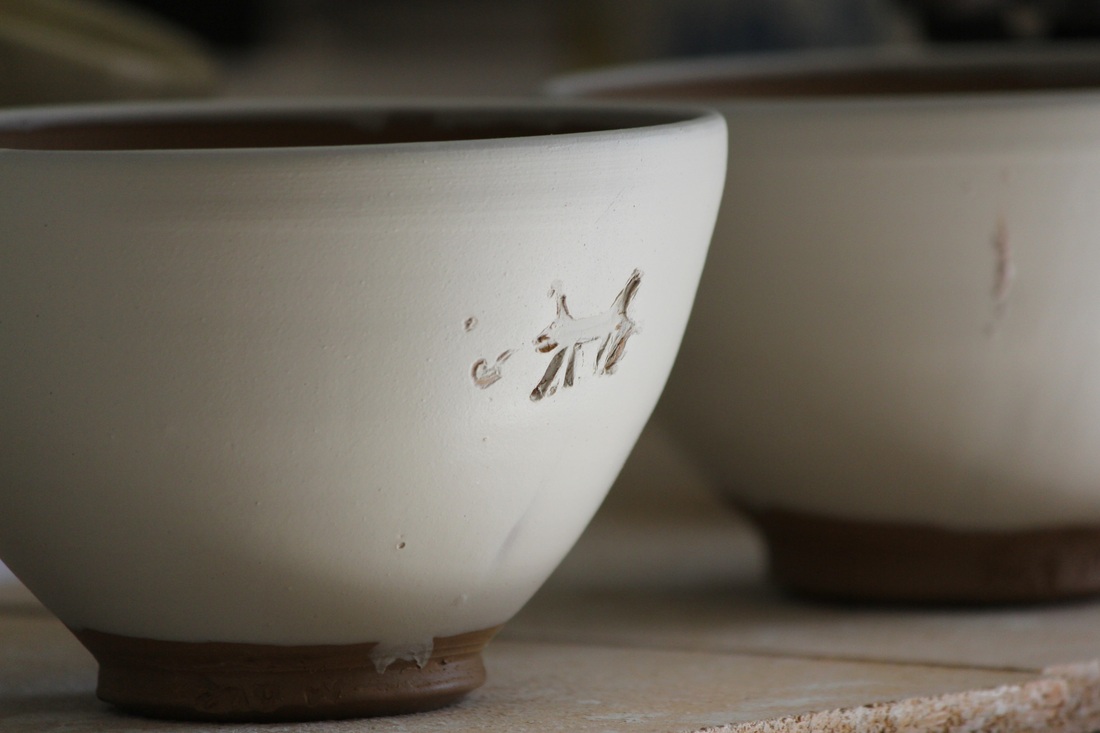
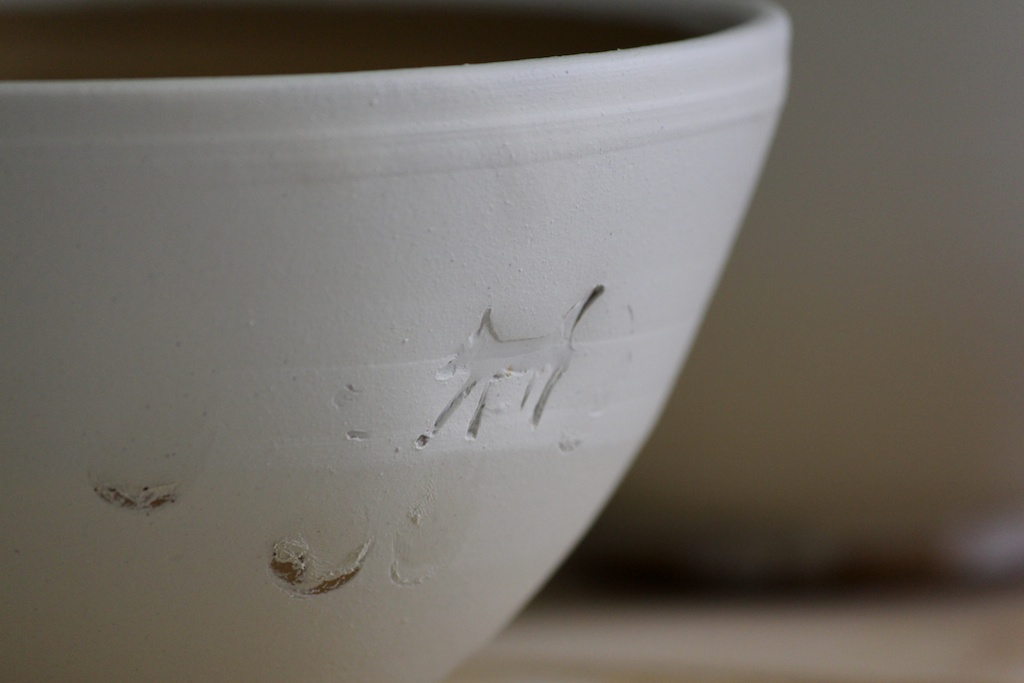
The stamps I carved out of white clay and fired them before use. All of the stamping was done directly into the terracotta surface before any additions have been made.
Design wise there are some very simple touches like the stamps under the white slip that are just clean and lovely. The other results that i'm particularly happy with is the simple brush work of the white slip its nice and coarse which leaves great natural lines from the hake brushes. The lines made with the rubber tipped tools are growing on me and i have yet to test the carved thin line work but ready to start making another batch which will be fired in the large gas kiln. I'm hoping for some flame marks from this kiln and intend to leave some very simple pieces for that to take place and not overdecorate.
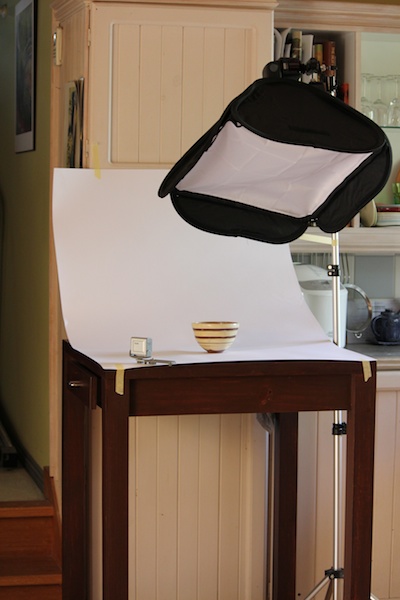
The gallery is pictures taken today in my kitchen, I have a large sheet of white cartridge paper taped to the cbd and table top with my soft box over head and a mini slave flash adding some fill light.
The first kiln load was fired in oxidation in a manual kiln to 1100C over 10 hours as sunday was the turn back your clocks day on daylight saving so the kiln got an extra hour before turning up to high. The results are great the glazes matured well and the oxides started to move nicely.
I'm using Bennetts terracotta filtered clay that is dug over the road from me and not a lot of processing just filtered and pugged. The slip is ball clay, the copper slip has a rounded desert spoon of copper carb in 1 litre of slip and the black slip is red iron oxide, manganese dioxide and terracotta clay equal parts in one litre of slip.
Some of these pieces were marbled in the white with black slip trailed over and quickly flicked to merge together. Colouring on top of the clear glaze is turquoise satin and red iron oxide in the honey glaze.
The stamps I carved out of white clay and fired them before use. All of the stamping was done directly into the terracotta surface before any additions have been made.
Design wise there are some very simple touches like the stamps under the white slip that are just clean and lovely. The other results that i'm particularly happy with is the simple brush work of the white slip its nice and coarse which leaves great natural lines from the hake brushes. The lines made with the rubber tipped tools are growing on me and i have yet to test the carved thin line work but ready to start making another batch which will be fired in the large gas kiln. I'm hoping for some flame marks from this kiln and intend to leave some very simple pieces for that to take place and not overdecorate.
The gallery is pictures taken today in my kitchen, I have a large sheet of white cartridge paper taped to the cbd and table top with my soft box over head and a mini slave flash adding some fill light.
|

|
|
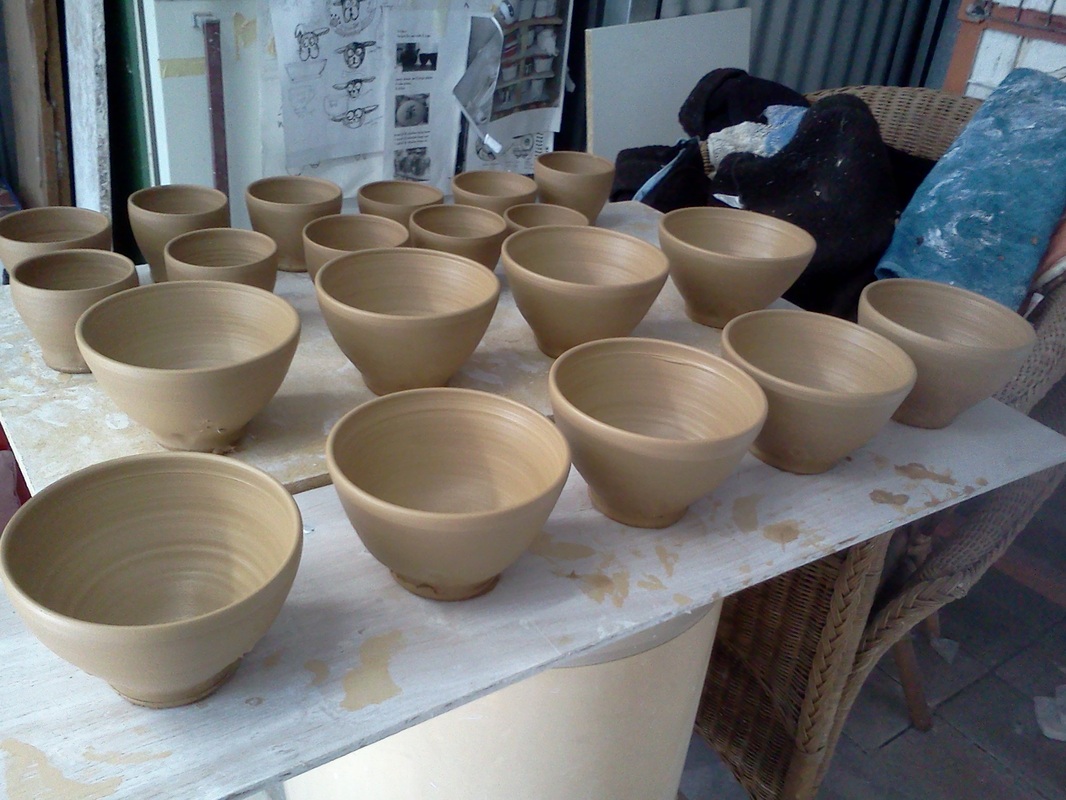
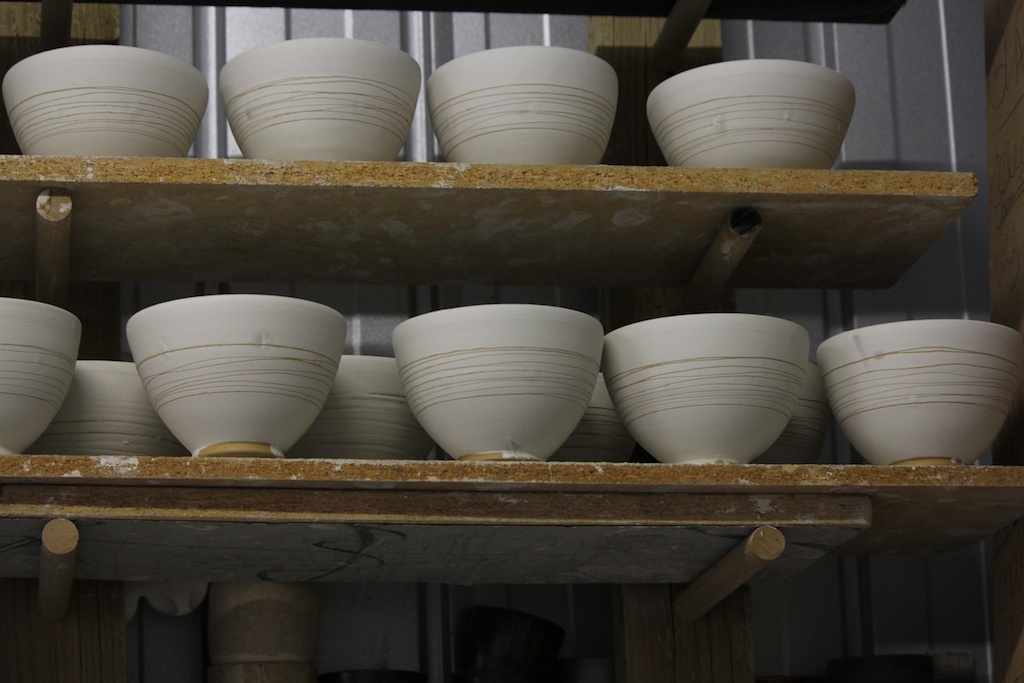
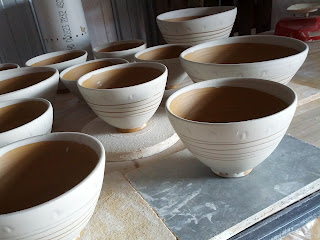
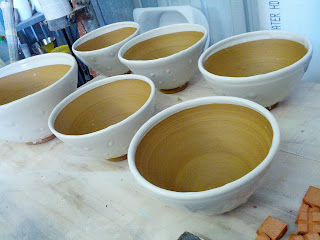
slipware progress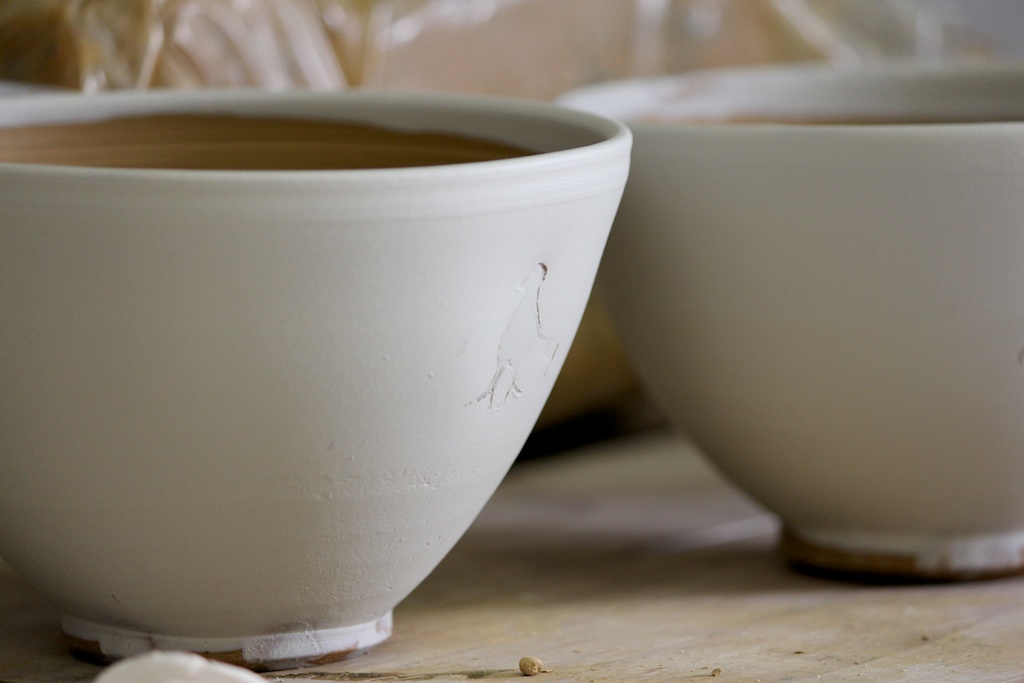
The new bowls keep coming and this weeks efforts are multipying!! still heading towards a big gas kiln firing and the making cycle must end somewhere...but for now its back to the studio.. |
|
|
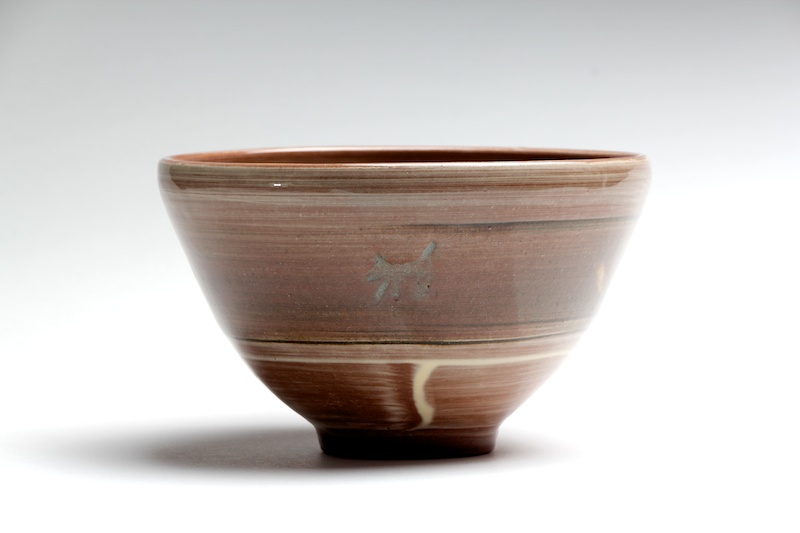
the gas firing results
|
|
|
|
|
|
|
|
the gas firingSo it went really well ... we lit up the friday night on the pilots to warm up the kiln pre firing saturday and early in the morning my firing buddy Kevin dropped in to check things around 7am switched bottles as the night warm had used up the remnants of a tank and set thing again on their way... I arrived around 8.30 to see how things were going and set the firing on its climb..
|
Saturday went well we switched bottles again later when the pressure dropped on the outside gauge and with a cooler day the tank was icing up too with little gas in the tanks we were playing with low pressure but ideal for an earthenware firing.. All went well and finished up mid afternoon with a soak at the end, which in hindsight prob wash't required as the lower shelves got quite hot.. I'm well satisfied with the results and plenty of information for the next firing..
|
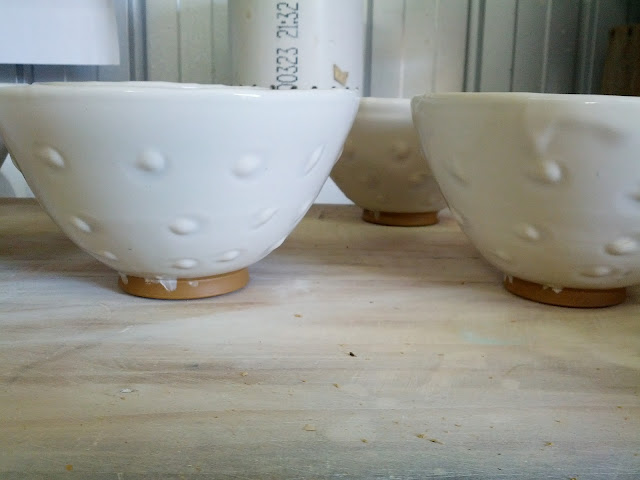
The latest in my slipware trials of 2012 white on red dots..
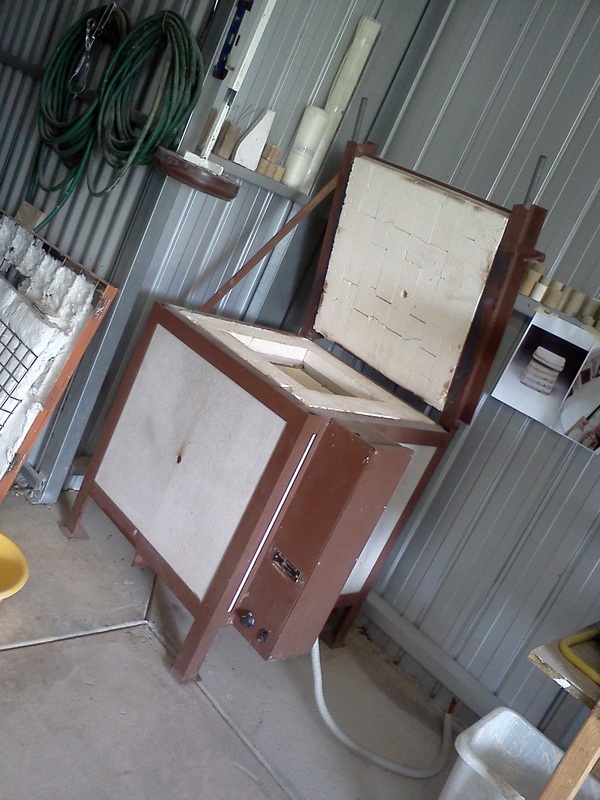
Last bisque firing is complete and went well in my recent lil kiln purchase that makes about 4 firings now I think. I needed to add some fibre to the roof as the bricks are cracked and damaged so to stop bits falling through Ive secured fa thin layer of fibre to the inside of the roof, this works well but still need some extra blocking on the outside to stop too much heat escaping during the firing..
I'm very happy with the colour responses from the UG stains and oxide to get an amber it just needs amping up a bit and also love the clay response to being gas fired so more of that ion the new year.. For my latest exhibition work I chose the terracotta clay to make my tiles from here's a video of the process..

2010 tiles. cups. platters. serving dishes.
2D or not 2dThese tiles were layers of cone 6 crawling glaze on handmade paper clay pushed into wood frames over gladwrap, you can see the marks from the plastic in the areas of just oxides.. the oxides were treated like watercolour paint pushed around with loads of water to leave markings behind..
some addition spot colour was added with c6 coloured glazes. |
cone 6 sodaMy first attempt at a soda firing although the soda solution was brushed on not sprayed into the kiln simply because my kiln is made of fibre and deterioration would happen otherwise..
Some very nice results came from c6 copper reds also. recipes to follow shortly.. |
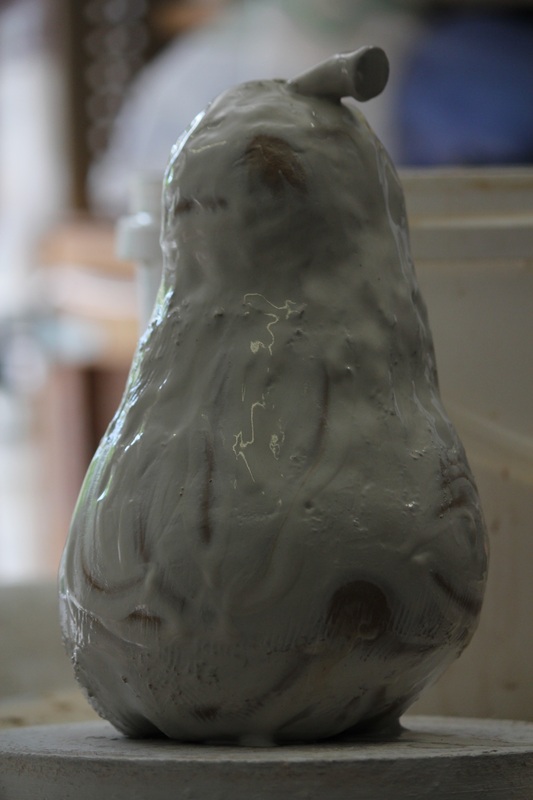
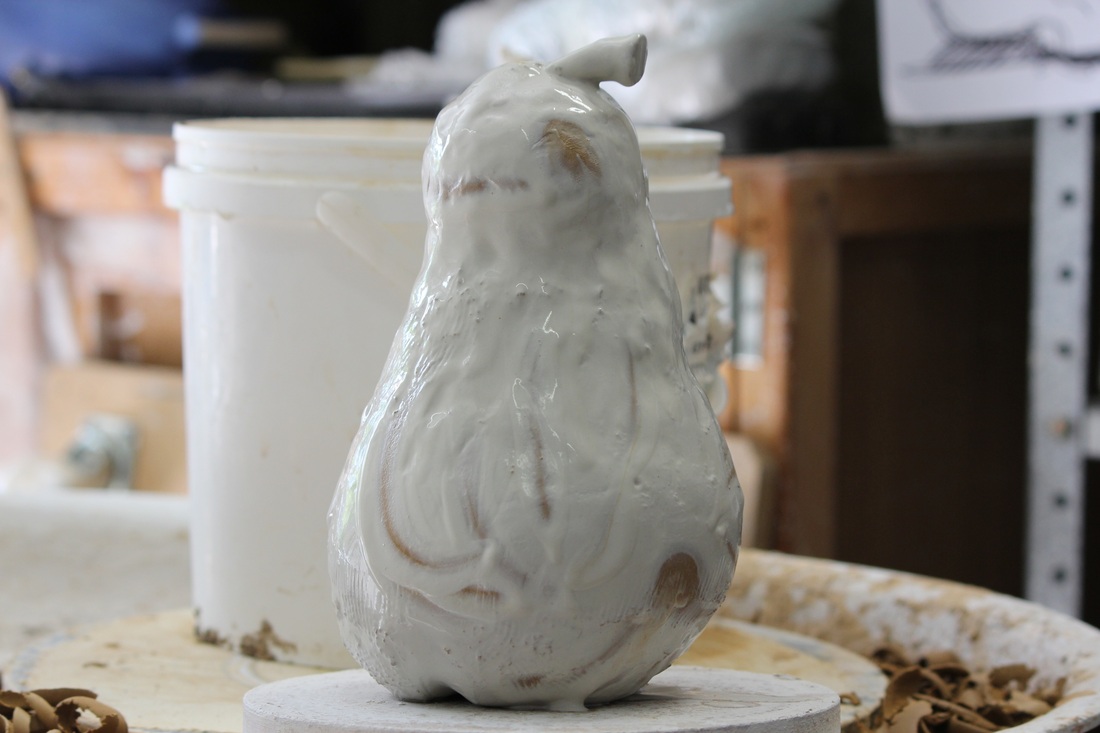
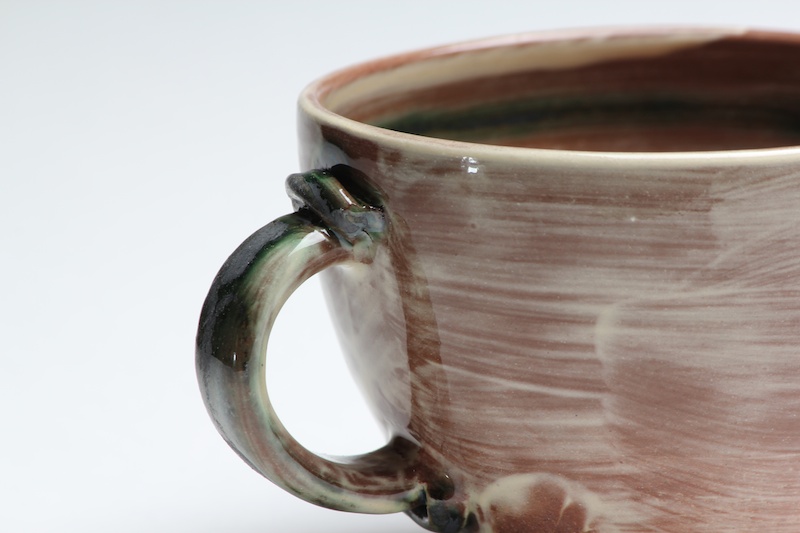
My Studio... shots of work in progress and some pieces I have yet to return to solving issues, such as the E/W platters were thrown way too thin for their scale and glaze bubbling needs to be solved in the scraffito..
|
